Browser Audio Settings Online Tuner Users Should Configure
Why online tuner readings vary between browsers and devices
Many players assume tuner instability comes from bad strings or weak technique. In reality, browser audio configuration often causes the first layer of tuning noise. When input permissions, gain levels, or analysis defaults are misaligned, the pitch indicator can jump even on a stable note.
This is common for users who switch between laptops, tablets, and external microphones. Each device may apply a different audio path before the tuner receives signal data. A setup that worked yesterday can feel less stable today if one browser update or permission reset changed that path.
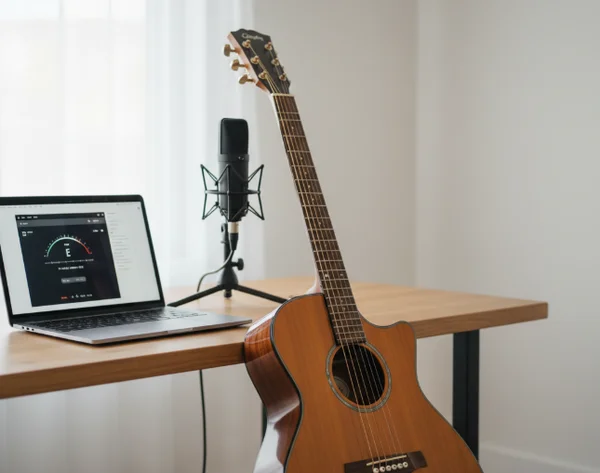
The best fix is a short preflight sequence before plucking strings. Open the online tuner interface and run a two-minute audio check. Stable setup first, fine tuning second.
This guide focuses on browser-side controls that improve detection consistency. It does not require extra software, and it keeps the workflow aligned with a fast browser-based tuning session.
Prepare your browser audio pipeline before plucking strings
Check microphone permissions, secure context, and sample-rate assumptions
Start with microphone permission state. If permission is blocked or limited, the tuner receives no reliable signal. On many devices, this failure looks like random needle motion instead of a clear permission error.
MDN documentation notes that getUserMedia works only in secure contexts, so microphone capture should run over HTTPS pages (MDN getUserMedia). If the page is not secure, the capture request can fail before tuning begins.
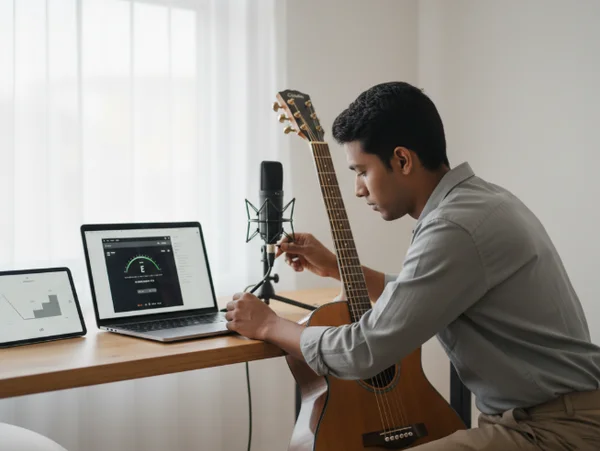
After confirming secure access, verify which microphone is active. Built-in laptop mics often pick up fan noise and room reflections. An external mic placed closer to the instrument usually gives cleaner onset and decay behavior.
Then standardize browser conditions:
- Close extra tabs with autoplay audio.
- Disable aggressive noise suppression if it clips instrument attack.
- Keep one input device selected for the full tuning session.
- Retest one open string before tuning the full set.
For multi-instrument practice, save these steps as a fixed preflight. The same browser routine can be reused on guitar, ukulele, and violin sessions via the instrument-specific tuning pages.
Set input gain and room noise conditions for stable pitch detection
Gain that is too low makes note detection lag. Gain that is too high can flatten transients and create false overtones in the analysis window. The target is a clean, moderate signal that peaks clearly when a string is plucked.
Use room position to reduce noise before touching any software control. Move away from air vents, open windows, and reflective corners. Small position changes can remove enough noise to stabilize tuner response.
Next, test one string at normal playing intensity. If the indicator swings too widely, reduce input gain or increase instrument-to-mic distance. If the indicator barely reacts, move the mic closer or raise input level slightly.
A stable signal makes every later adjustment easier. It also shortens total tuning time because each string settles faster near target pitch.
Validate detection stability with quick technical checks
Use FFT-size and smoothing concepts to interpret jittery needle movement
Most browser tuners analyze incoming audio with frequency-domain methods. Two analysis behaviors are useful for users even without deep DSP knowledge: FFT-size limits and smoothing behavior.
MDN documents that AnalyserNode.fftSize must be a power of 2 between 32 and 32768 (MDN fftSize). Larger values usually give finer frequency detail but can feel slower to react. Smaller values react faster but may look noisier on unstable signals.
MDN also documents smoothingTimeConstant as a value from 0 to 1, with a default of 0.8 (MDN smoothingTimeConstant). Higher smoothing can make the needle steadier. Lower smoothing can make changes feel more immediate.
For practical tuning, interpret jitter with context:
- Fast jitter at note onset is often normal.
- Stable center after 1 to 2 seconds indicates usable detection.
- Wide oscillation across several cents usually points to noise or gain issues.
When users understand these behaviors, they stop over-correcting the tuning peg on every flicker. That alone improves final accuracy and reduces string fatigue during repeated adjustments.
Run a 60-second retest routine before full instrument tuning
Before tuning all strings, run a quick retest cycle. This catches setup drift while the session is still small.
Use this 60-second routine:
- Pluck one known reference string for 5 seconds.
- Mute and wait 3 seconds to clear resonance.
- Pluck again at similar intensity.
- Confirm the indicator returns to the same region both times.
- Repeat once more after turning your body 30 degrees to test room reflection effects.
If results differ across those short checks, do not tune all strings yet. Recheck mic source, gain, and nearby noise. A one-minute retest prevents six-string rework later.
Once stable, continue with the standard tuning order for your instrument. If needed, use the reference note controls to verify ear and indicator alignment before the final pass.
For ensemble preparation, ask each player to run the same retest routine. Shared preflight reduces variation between devices and makes group tuning faster.
Key takeaways and a repeatable browser setup checklist
Online tuner reliability depends on setup quality more than on luck. Secure microphone access, stable gain, and controlled room noise create the foundation. Technical analysis details then become easier to interpret and less intimidating.
Keep the process repeatable: check permissions, confirm active mic, run one-string retest, then tune in order. When this routine becomes habit, sessions start faster and finish with fewer correction loops.
Use the checklist before each practice block and after any browser or device change. Small preflight discipline produces large consistency gains, especially for players switching between instruments and environments.
For teaching studios and shared rehearsal rooms, print the checklist and place it near the instrument area. A visible process card reduces setup errors when multiple people use different devices. It also creates a common language for troubleshooting, so players can describe issues clearly instead of guessing at causes. Over time, that consistency improves both practice efficiency and confidence in browser-based tuning sessions.